ChatGPT has launched a new “Developer Mode,” a feature that allows developers to directly connect their own tools and services with the AI model. This article will provide an in-depth exploration of what Developer Mode is, how to enable and configure it securely, and share practical operational tips to help you unleash the true potential of ChatGPT.
Have you ever imagined what it would be like if ChatGPT wasn’t just a conversational robot, but a super assistant that could directly operate your company’s internal systems? For example, directly helping you update CRM customer data, initiating a pull request on GitHub, or scheduling a meeting and automatically sending out invitations. Doesn’t that sound cool?
All of this is now possible through ChatGPT’s latest “Developer Mode.” This feature is no small update; it opens a brand new door for developers, allowing AI to integrate deeply with external tools in ways never seen before.
However, as the saying goes, “with great power comes great responsibility.” While this mode is powerful, it also comes with certain risks. Next, let’s take a look at what this Developer Mode really is and how to master it safely.
So, what exactly is ChatGPT Developer Mode?
Simply put, ChatGPT Developer Mode is a beta feature that provides a complete “Model Context Protocol” (MCP) client, allowing ChatGPT to support all read and write tools.
Sound a bit complicated? Don’t worry, let’s explain it another way.
Imagine the standard version of ChatGPT as a knowledgeable consultant. You can ask it questions, and it will give you advice. But if you want it to “get its hands dirty” for you, like booking a flight, it has to go through an intermediary called a “plugin” or “GPTs.”
Developer Mode, on the other hand, directly gives ChatGPT a key to your house (your server). Through the MCP protocol, ChatGPT can directly communicate with your custom tools or services (officially called “Connectors”) to perform more complex tasks like reading data and even modifying it. This means you can build truly customized, seamless AI workflows.
A friendly reminder before you start: this is a double-edged sword
Before we get excited and start setting things up, we must first understand the potential risks of this feature. OpenAI officially states that this mode is “powerful but dangerous,” primarily aimed at developers who know how to securely configure and test connectors.
You need to pay special attention to the following points:
- Prompt Injections: Malicious actors might use clever prompts to bypass your security settings, causing the model to perform unintended malicious operations.
- Write risks from model misinterpretation: AI is not 100% perfect. If the model misunderstands a command, it might perform an incorrect write action, which could lead to your data being accidentally modified, deleted, or even leaked.
- Malicious MCP servers: If you connect to a malicious MCP server, it might try to steal your conversation information or personal data.
So, while enjoying the convenience, please be sure to remain vigilant.
Alright, how to enable and configure Developer Mode?
Ready for the challenge? Currently, this feature is limited to Pro and Plus web users. The activation steps are actually quite simple:
- Enable the mode: Go to ChatGPT’s
Settings→Connectors→Advanced, and then turn onDeveloper mode. - Import your MCP server:
- In the
Connectorstab, you can add the address of a remote MCP server. - Once successfully added, this server will appear in the “Developer Mode” option in the toolbar above the chatbox.
- Currently supported protocols include SSE and streaming HTTP, with authentication methods supporting OAuth or no authentication.
- In the
- Manage tools: On the connector’s details page, you can freely enable or disable the tools provided by that server, or refresh to get the latest list of tools and descriptions.
How to “command” your custom tools in a conversation?
After successfully connecting to your tools, the next challenge is how to effectively call them through prompts. This requires some skill, as you need to make the model accurately understand your intent.
Here are a few practical suggestions:
- Be specific with your commands: Directly name the tool you want to use. For example: “Use the ‘update_record’ tool from the ‘Acme CRM’ connector to update…”, and if necessary, include the server label and tool name.
- Exclude other options: To avoid confusion, you can directly command: “Do not use the built-in browsing or other tools, only use the ‘Acme CRM’ connector.”
- Distinguish between similar tools: If you have several tools with similar functions, it’s best to be clear. For example: “Use
Calendar.create_eventto schedule the meeting, notReminders.create_task.” - Specify the execution order: When multiple steps are needed, you can explicitly order them. For example: “First, call
Repo.read_fileto read the file { path: “…” }. Then, callRepo.write_filewith the modified content. Do not call any other tools.” - Set priorities: When multiple connectors have overlapping functions, you can specify a preference. For example: “Prioritize using
CompanyDBas the authoritative data source, and only use other sources ifCompanyDBreturns no results.”
A little trick is to write clearer, action-oriented names and descriptions for your tools on your MCP server, which can greatly help the model make the right choice.
The final step: review and confirm
For all “write” operations, security is always the top priority. Developer Mode has a confirmation mechanism designed to protect your data.
- Check the JSON content: Before the model calls a tool, you can see the full JSON input and output content. Remember to click and check it carefully to ensure all parameters are correct.
- Confirmation required before writing: By default, all write operations require your manual approval. This is a very important security checkpoint; never click confirm hastily, especially when you are not sure if the command is completely correct.
- Trust but verify: You can choose to “remember this choice” to prevent the model from asking repeatedly in the same conversation. But please only do this for applications you completely trust. Starting a new conversation will require confirmation again.
In conclusion, ChatGPT Developer Mode shows us the infinite possibilities of AI collaboration. It is no longer just a Q&A tool, but a powerful partner that can be deeply integrated into our workflows. As long as we can use it cautiously, it is bound to become an indispensable tool for developers in the future.
Want to learn more technical details? You can always consult the OpenAI official documentation.
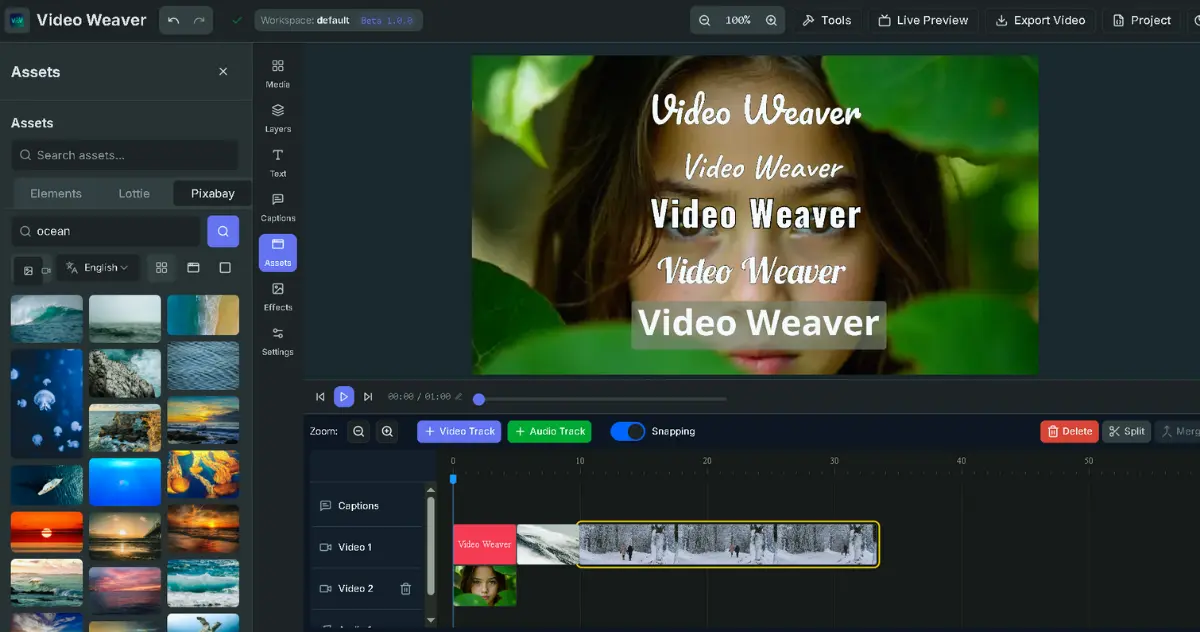
videoweaver.app
Video Weaver: Professional video editing directly in your browser. No downloads required.
Learn More
DMflow.chat
DMflow.chat: Your intelligent AI partner for exceptional customer engagement.
Learn More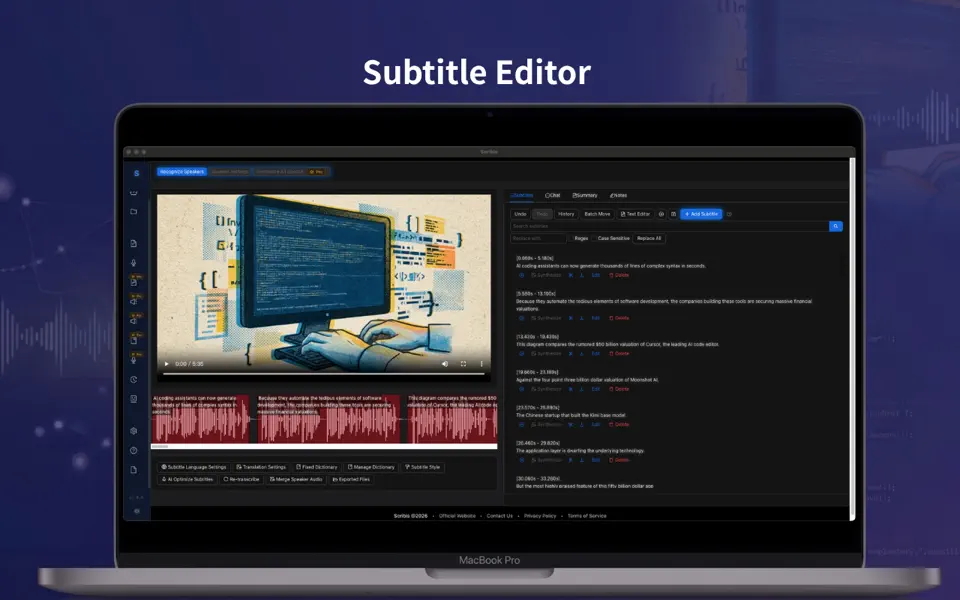
scribis.app
Scribis: Subtitle editing, audio transcription, and live transcription.
Learn More
DMflow.chat
Discover DMflow.chat and unlock the new era of AI-powered customer service.
Learn Morevideoweaver.app
Video Weaver: Professional video editing directly in your browser. No downloads required.
Learn MoreDMflow.chat
DMflow.chat: Your intelligent AI partner for exceptional customer engagement.
Learn Morescribis.app
Scribis: Subtitle editing, audio transcription, and live transcription.
Learn MoreDMflow.chat
Discover DMflow.chat and unlock the new era of AI-powered customer service.
Learn More